Project Breakdown - Xwing Fighting Scene
Intro
In this article, I'll provide a quick breakdown of the steps I took to achieve this shot. This project was a personal challenge to explore a variety of software tools and go through the entire creation process from start to finish.

Maya

Unreal Engine

Houdini

Nuke
Maya
Unreal Engine
Houdini
Nuke
First Steps - Concept and Reference Research
I began by gathering references and exploring ideas to guide my approach, aiming to combine multiple software tools with achievable challenges. I watched various spaceship fight scenes from Star Wars and other franchises, collecting a range of visual references for inspiration. The initial concept was a three-shot sequence, ending with a dramatic crash. Below are some references I gathered for this project:
Model Sourcing and Setup
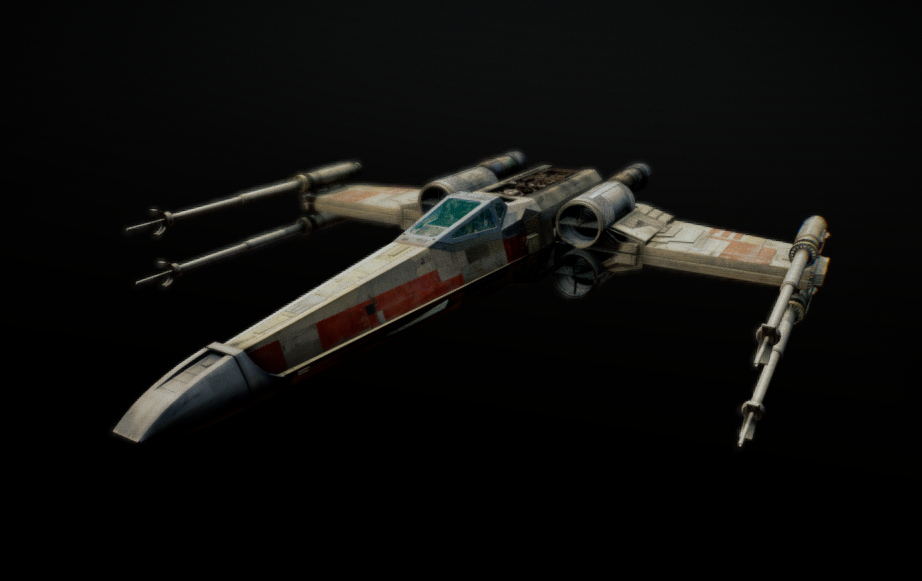
The first step was sourcing high-quality 3D models for the iconic X-Wing and TIE Fighter. After exploring various resources, I selected models that would not only be visually impressive but also suited the technical requirements of the scene. I found the TIE Fighter model on TurboSquid, created by the talented artist IndyVFX (link),and the X-Wing on Sketchfab, created by charles.woods (link).These models served as the foundation for the scene.
Once I had the models, I imported them into Maya to begin rigging. I created simple yet effective rigs for each model, focusing on flexibility and control. This setup allowed me to easily manipulate the ships' movement and rotation, giving me the freedom to experiment with dynamic actions.
Scene Blockout and Initial Animation
With the models set up, I blocked out a quick scene to test camera angles and animation. Using simple primitives, I prototyped laser shots and explosions to get a feel for how everything would come together. At this point, I planned a three-shot sequence, so I chose to cut the scene just before the ships moved out of frame.

Quality Over Quantity: Refining the First Shot
To maintain quality over quantity, I decided to concentrate on perfecting the first shot. This approach allowed me to complete the project within a reasonable timeframe while focusing on detailed refinement. I continued tweaking animation curves, adjusting projectile speeds, and refining directions until I was happy with the setup and ready to move forward.
Moving to Houdini for FX
 With the primary animation in place, I moved into Houdini to experiment with visual effects and preview the final look. I exported the animations and movements via Alembic for seamless integration.
To establish color dynamics, I added basic colors to the scene, helping the ships "pop" in the final state. This led to some minor adjustments in animation timing and camera positioning to enhance flow and focal points.
Initially, I planned to incorporate a large explosion, with the X-Wing flying through it in a style inspired by Pearl Harbor. However, this would have required slowing down the overall scene, potentially impacting pacing. Instead, I opted for smaller ground impacts to maintain a fast, intense action sequence.
Building the Scene: Environment, Assets, and Optimization
After finalizing the FX blocking and refining the shot, I turned to the Unreal Marketplace to find an environment asset that would provide a fitting backdrop for the scene. I selected the Canyon Landscape by Gokhan Karadayi, as its rugged, natural terrain created the ideal setting for the action-packed sequence I envisioned.
I started by creating a new Unreal project and importing all necessary assets, including the spaceship models, textures, animations, and the canyon landscape pack. This provided me with a well-rounded foundation to begin constructing the scene.
To further enhance the visual quality, I developed custom materials for the X-Wing and TIE Fighter. By carefully adjusting the reflective properties, colors, and textures, I ensured that each ship would "pop" against the background, capturing the viewer's attention. This step was crucial for creating a cinematic look, as the materials would define how the ships interacted with the environment lighting and contributed to the overall visual composition.
Next, I set up the level sequencer in Unreal, which allowed me to place and time each mesh and animation within the scene, creating a cohesive and controlled flow of action. In addition to this, I adjusted the environment lighting to set the right mood.
To optimize performance and reduce unnecessary rendering load, I removed any extra elements from the scene that didn't contribute to the main composition. This included adjusting lighting intensity, shadow quality, and detail levels on background assets to ensure smooth playback and reduce processing demands.
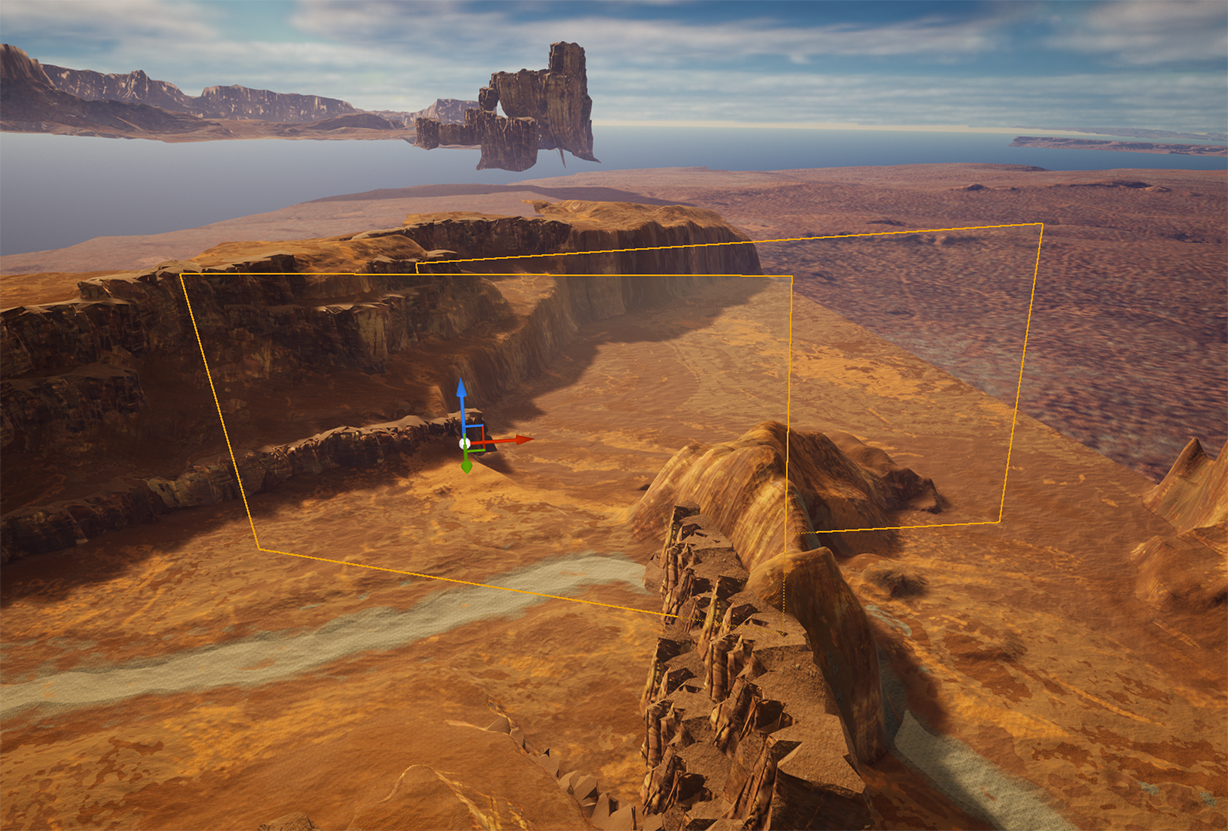
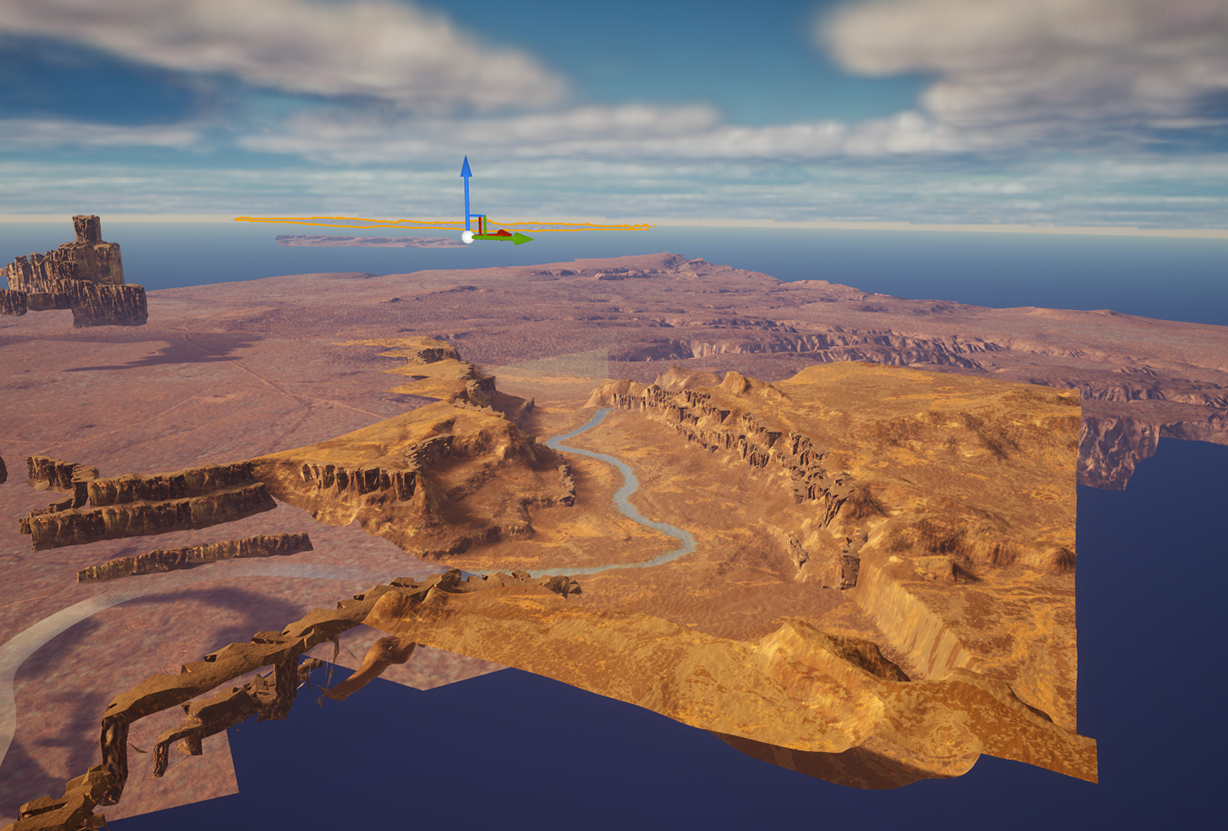
Finally, I made several custom modifications to the landscape, adjusting elements of the canyon layout to better frame the action and create a compelling visual journey. I also introduced a distant background to enhance the sense of scale and depth, adding a layered look that helped immerse viewers in the scene.
This was the final sequencer result :

Creating and Animating Laser Shots
To bring the laser shots to life, I used simple cylinder meshes as the base shape for each laser. I crafted an emissive material, giving each laser a bright glow to achieve the intense, energized look characteristic of laser blasts. This emissive effect added a dynamic contrast, ensuring the lasers stood out vividly against the background.
Using Unreal's sequencer, I animated each laser's trajectory, guiding their movement from the ships down to the ground. This allowed for precise control over timing and positioning, making each shot feel impactful and well-integrated into the scene.
To add a realistic touch, I attached a light source to each laser mesh. This approach created real-time lighting effects that followed the lasers' path, illuminating nearby surfaces and enhancing the sense of speed and energy as the lasers traveled through the scene. The combination of emissive materials and animated lights added depth to the visuals and contributed to a more immersive and dramatic atmosphere.
This is the final result with the lasers:
Final FX Creation in Houdini
To set up the final FX accurately within the scene, I imported the camera back into Houdini. Using small cube markers to define world positions, I was able to precisely place effects in alignment with the camera's movement, ensuring everything stayed perfectly synchronized.
For the impact effects, I utilized Houdini's Rigid Body Dynamics (RBD) and particle systems to create realistic debris and particle explosions. The RBD allowed for natural, physics-driven movement of debris on impact, while the particles added smaller, detailed elements like dust and fragments to enhance the realism.
I rendered these effects using Mantra with a transparent background, allowing for easy compositing over the scene in Unreal. This transparent render made it simple to layer the effects seamlessly, maintaining flexibility in post-processing and final adjustments.
Compositing and Color Correction in Nuke
For the final compositing, I brought all rendered elements into Nuke, everthing was new for me, where I layered and adjusted each component. Using Nuke's, I carefully aligned the FX and integrated them seamlessly into the scene.
To ensure the visuals felt unified, I applied color correction, adjusting hues, contrast, and saturation to match the lighting and mood of the scene, creating a polished and immersive final shot that felt like a single, cohesive composition.
This is the final result:

Conclusion
This project was both a technical challenge and a rewarding creative journey, allowing me to explore the full VFX pipeline from start to finish. By combining multiple software tools (Unreal, Maya, Houdini, and Nuke) I was able to bring each element to life and refine the shot to a high level of detail.
From sourcing models and crafting materials to rigging, animation, FX creation, and compositing, each step taught me new techniques and reinforced the importance of attention to detail. Balancing creativity with technical precision was key to achieving a cohesive, visually striking final shot that captures the energy and intensity I aimed for.
Thank you for following along with this breakdown hopefully, it offers insight into the process and inspires you to explore your own creative projects!